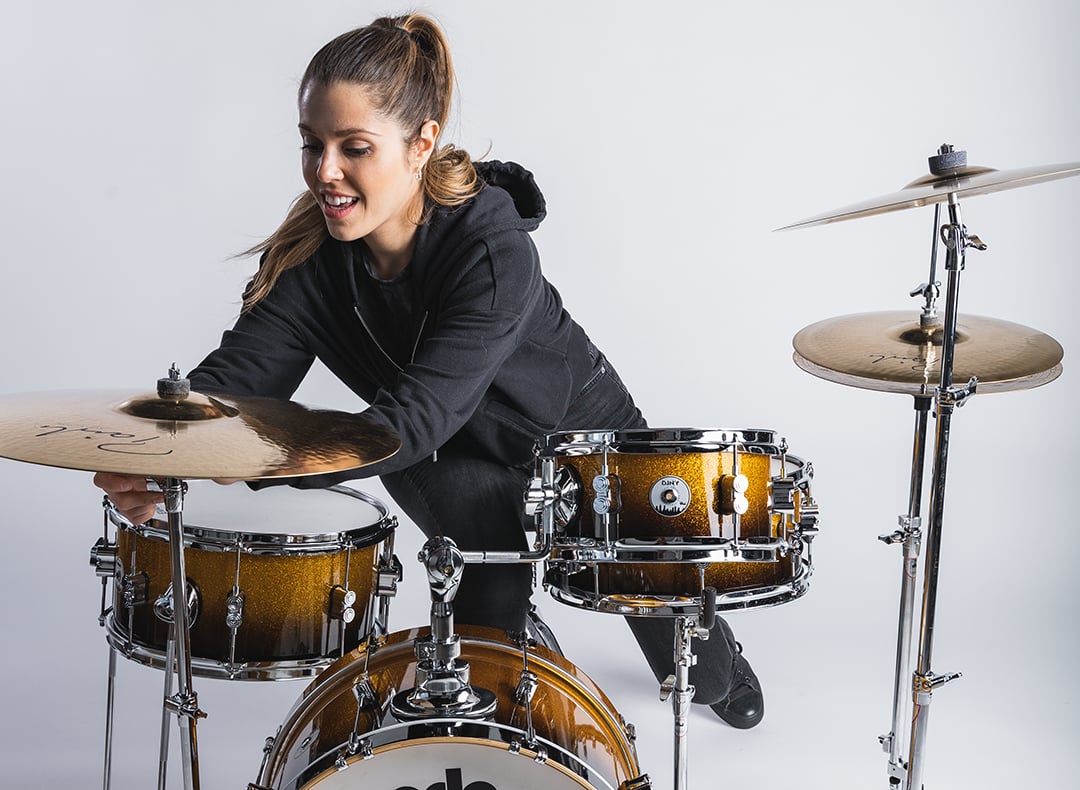
It’s finally time to learn how to play drums! You’ve picked out the kit of your dreams (or at least one that matches your budget) and now you have all the pieces sitting in front of you.
What’s next?
Before you set up your drums, map it out in your mind:
Every body is different, so every drummer has different needs. Bob is 6 feet tall. Jimmy has short legs. Stephanie has limited movement in her right knee. All of them will probably set up their kits a little bit differently, and what’s comfortable for them might be your ergonomic worst nightmare.
If you need to remember one thing, it’s that when you’ve finished setting up, you should be able to reach every piece of the kit easily. No over-extending your arms or legs, and you should never have to twist or contort your back.
These are instructions for a traditional right-handed drum kit setup. If you’re left-handed, reverse the instructions (or betray your people and learn how to play like a righty).
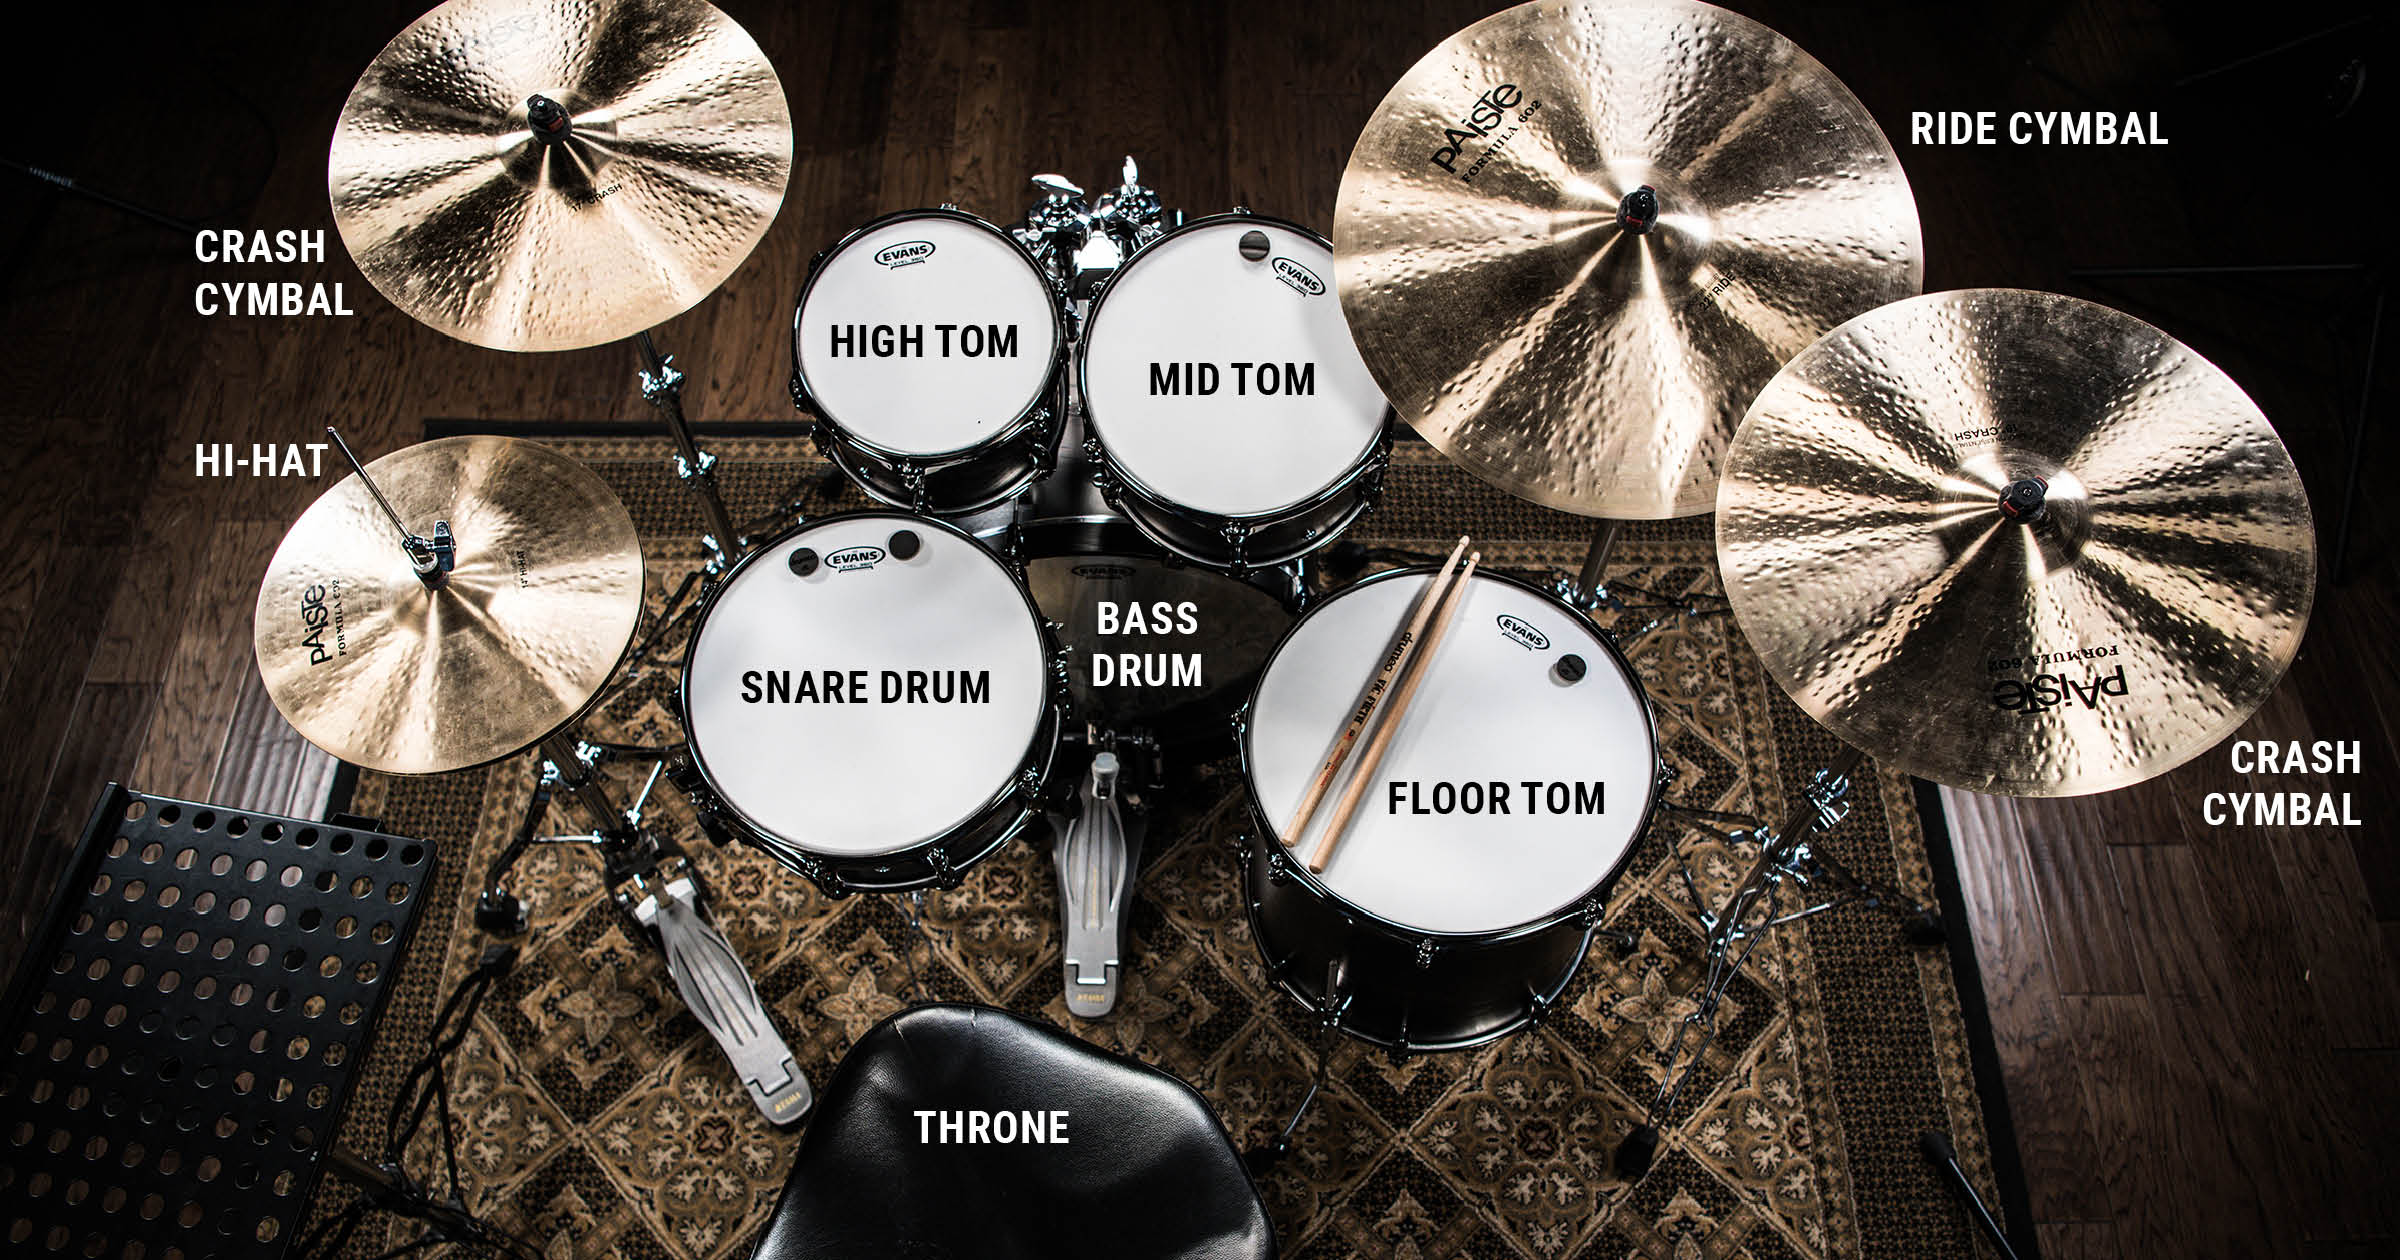
So you’ve decided to become a noise machine – and what a beautiful thing it is. Here’s how to set up a simple traditional drum set.
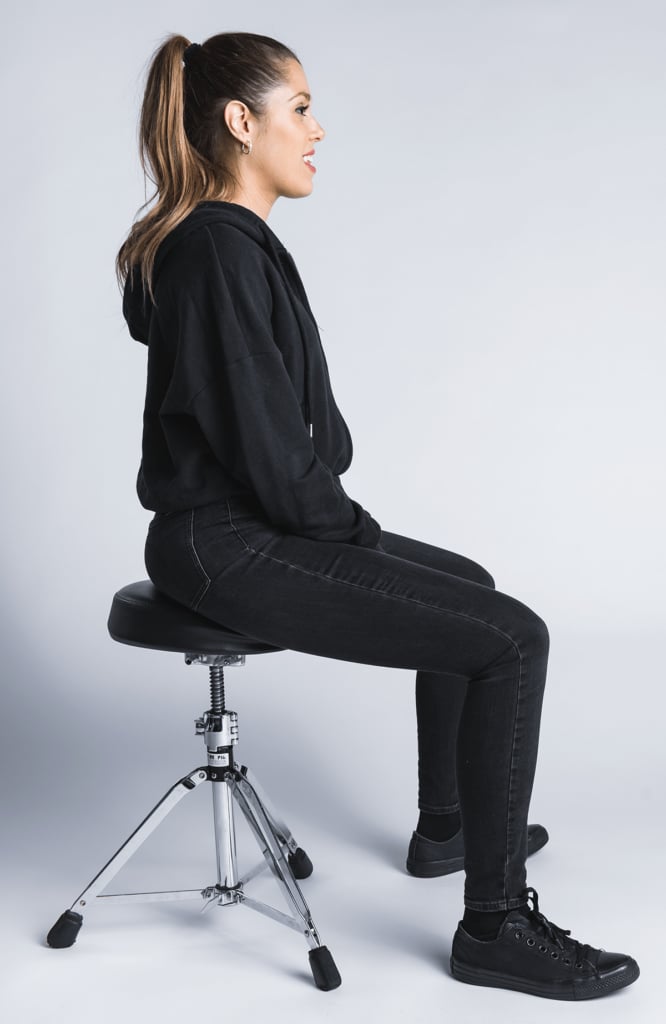
Start by opening up the legs of your throne (seat) by loosening the wing nut and pulling the legs outward. Adjust the height so you can sit comfortably with your feet flat on the ground.
Next, put down the bass drum (aka the “kick drum”). Think of this as the centerpiece of your kit. Once the bass drum is in the perfect spot, you’ll build everything else around it.
If your bass drum has spurs (legs), make sure they’re extended and angled slightly forward to prevent the drum from moving when you play.
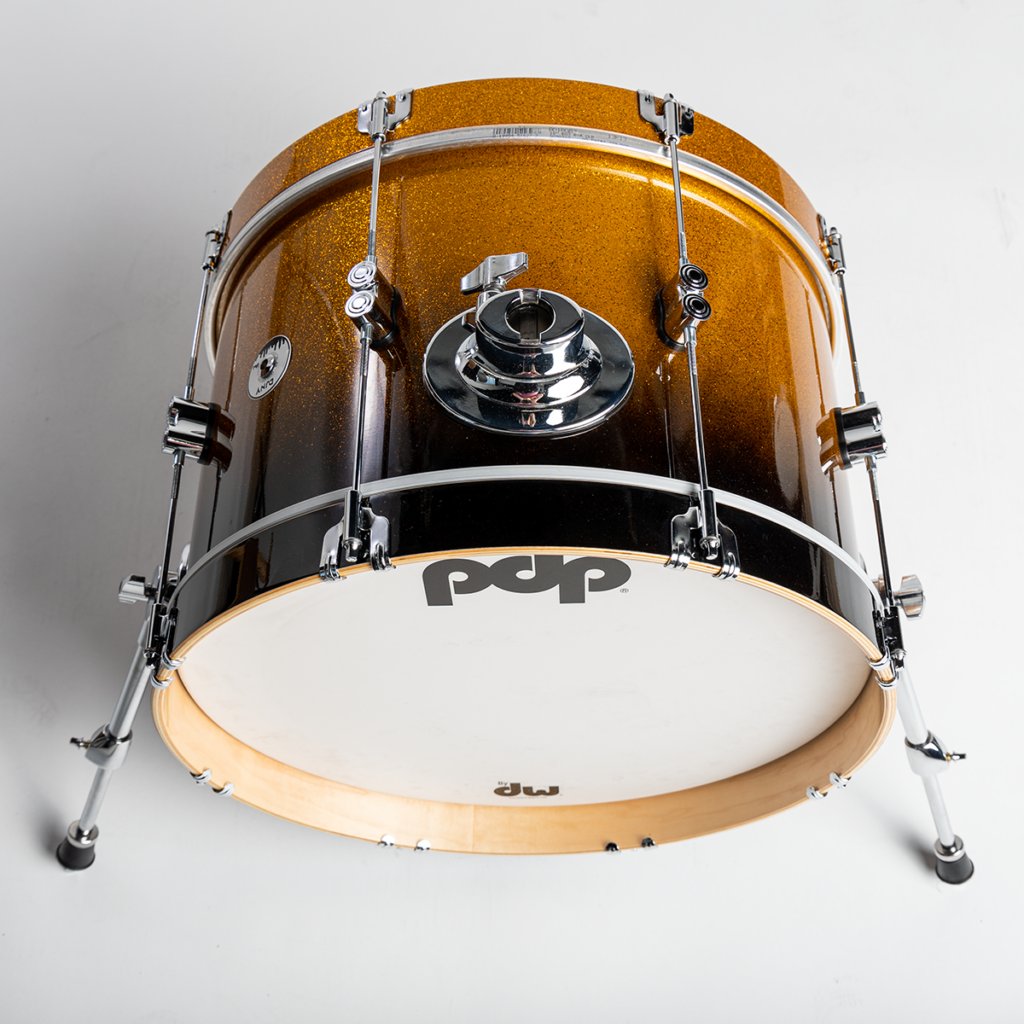
Keep in mind that when you sit down, your body shouldn’t face in the exact same direction as the front of the bass drum; you should actually position the drum at a slight angle.
Set the height of your seat so you can sit comfortably with your hips slightly higher than your knees, and set the seat far back enough that your right foot can just reach the bass drum without overextending or cramping.
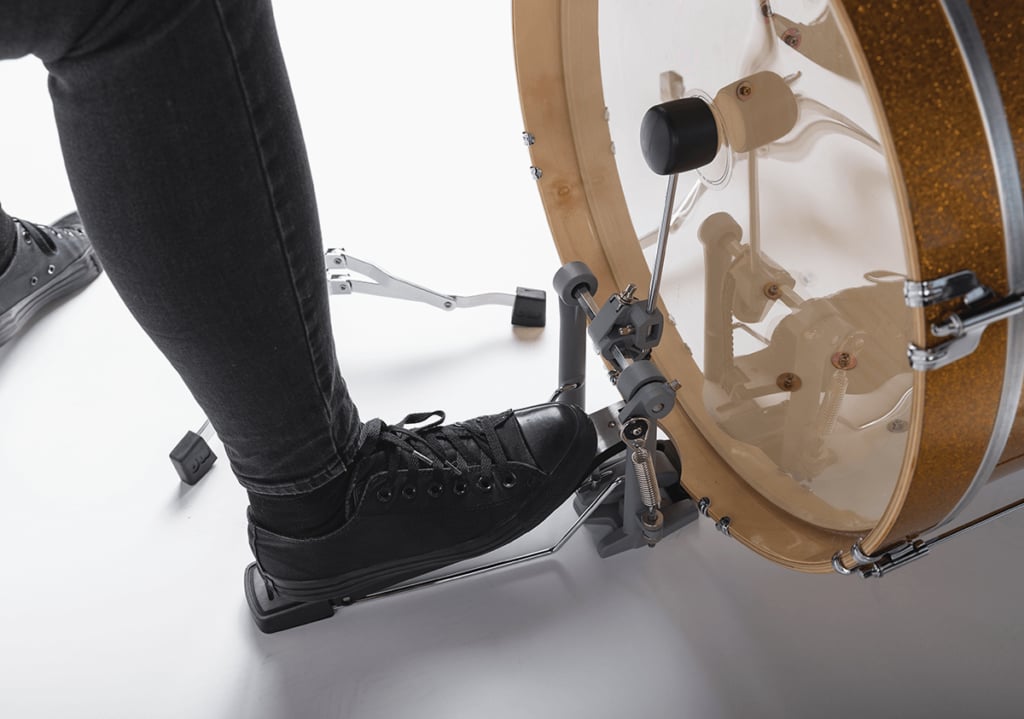
Place the pedal in front of the drum and slide it forward so the clamp fits nicely onto the hoop.
Tighten the clamp (usually under the pedalboard) to firmly attach the pedal to the drum.
If the beater is too close or something else doesn’t feel right, check out this pedal guide for instructions on how to adjust it.
Open the three legs of the snare stand the same way you opened the legs of the seat. Put it in front of and slightly to the left of the bass drum, then place the snare drum into the basket (where the three rubber-tipped ‘arms’ cradle the bottom of the drum).
If the drum doesn’t fit nicely on top of the stand, you might need to loosen the metal piece beneath the basket so the arms can open wider.
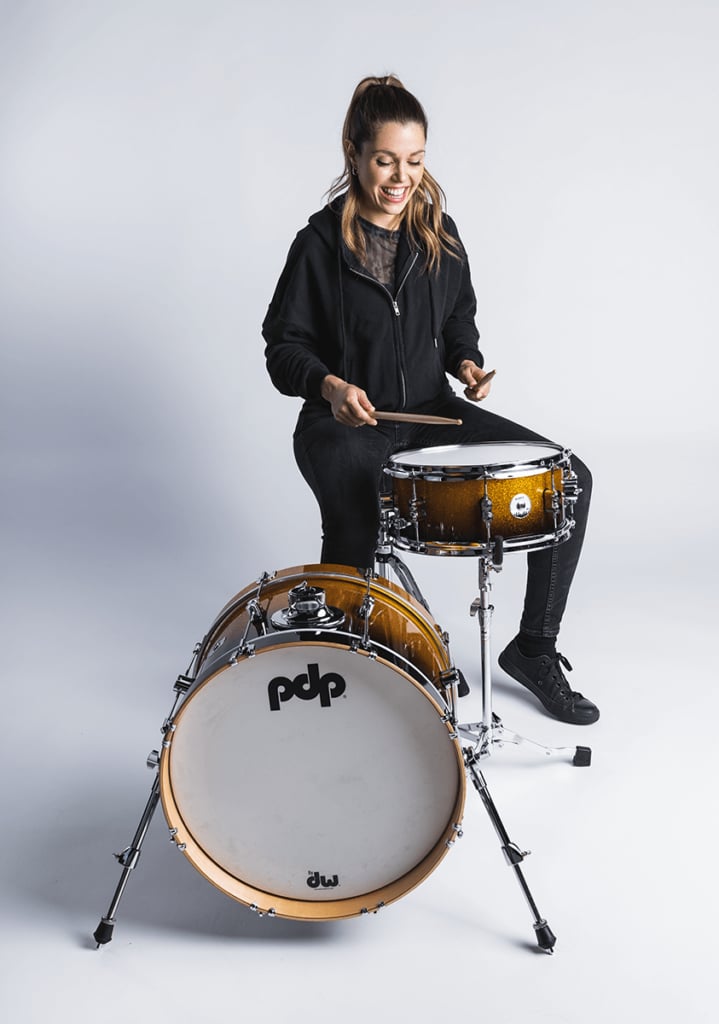
Once you’ve got the drum sitting nicely in the basket, give it a tighten. Adjust the stand’s height so the top of the snare drum sits a little below your bellybutton. You may need to play around with your seat height as well!
You can also give the snare stand a slight tilt so you don’t accidentally hit the rim. The goal is a comfortable playing position where you can easily strike the drumhead with zero tension or awkward movement.
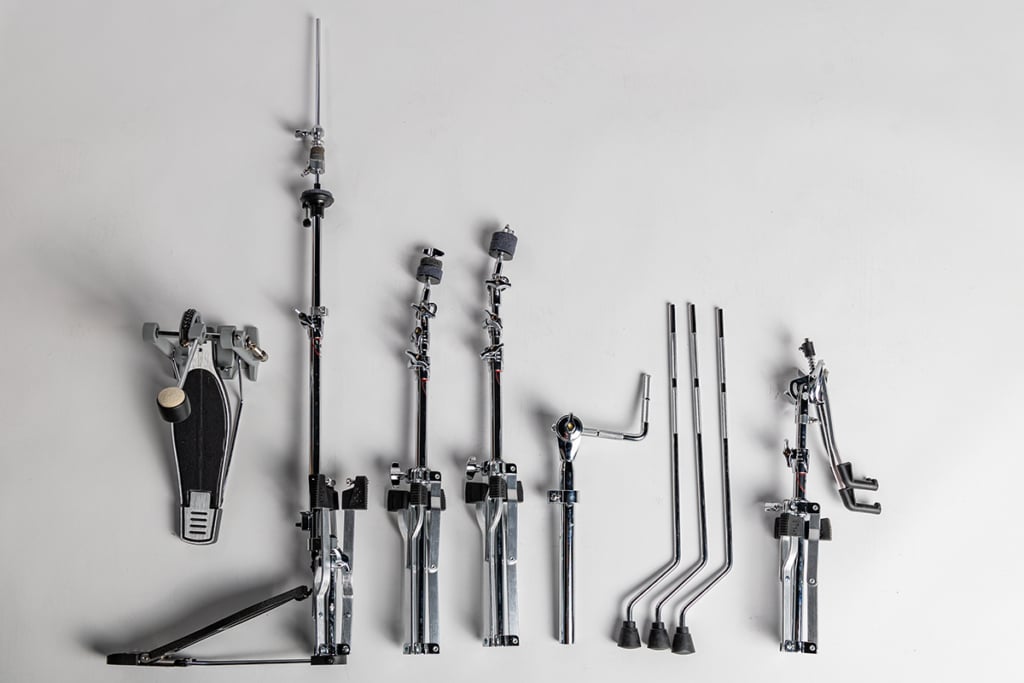
Open the hi-hat stand’s legs fully so the feet and hi-hat pedal all touch the ground evenly.
Screw in the rod and make sure it goes up and down when you press down on the pedal.
Take the bottom hi-hat cymbal (it’s usually the one without the logo, and it might feel slightly heavier) and slide it down the rod with the outer bell facing down.
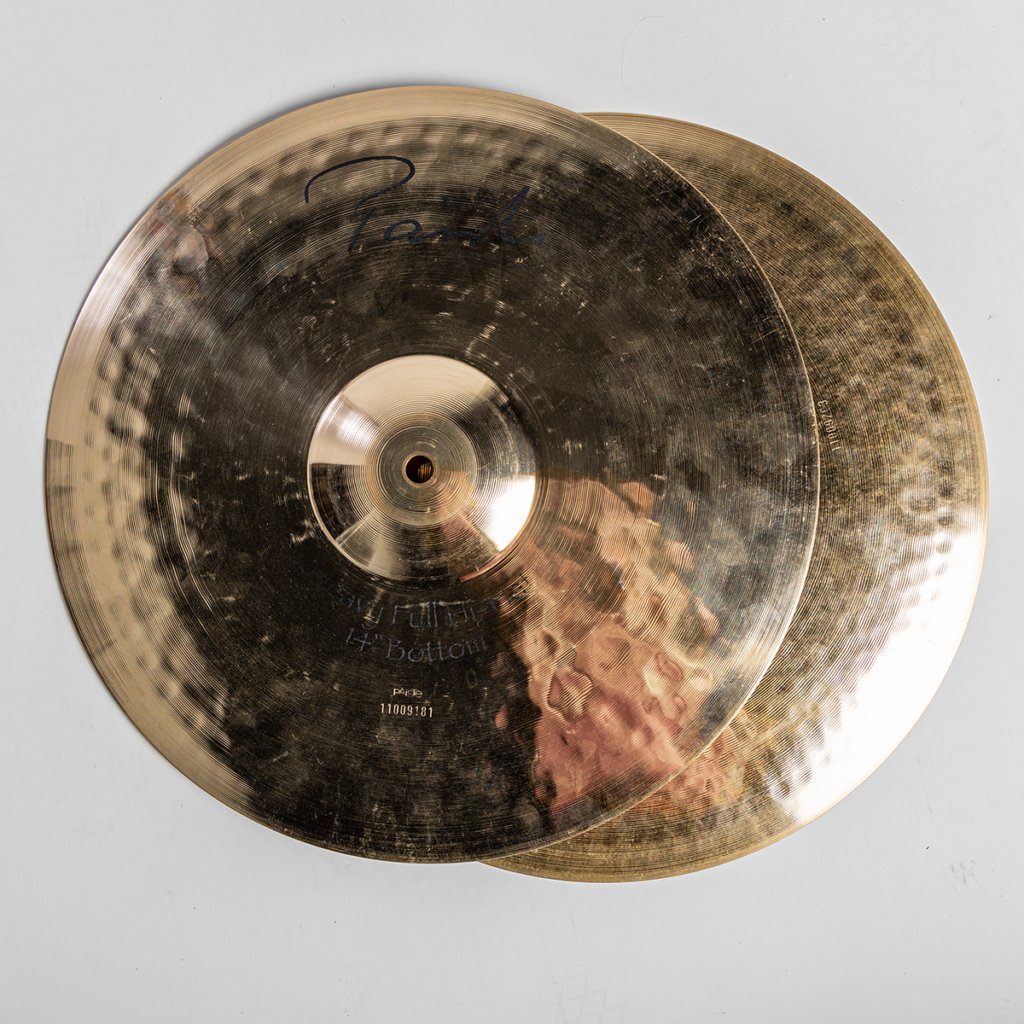
Now take the clutch – the small piece of hardware that looks like a collection of felts and nuts – and remove the bottom nut and felt. Thread it through the top hi-hat cymbal so the outer bell is facing up. Replace the felt and the bottom nut.
Place the cymbal-clutch combo onto the rod, loosening the wing nut on the clutch if it won’t go down. And voila!
To activate the stand’s open-close motion, use your hand to raise the clutch and top hi-hat up the rod about an inch, then tighten the clutch’s wing nut. Now you can press down on the pedal to control the height of the top hi-hat!
It’s called New Drummers Start Here – and it’ll take you from a total beginner to playing drums with real music in 90 days or less.
If you have a standard five-piece kit, you’ll probably have two mounted toms and one floor tom. Some toms are built to attach to your cymbal stands, but most beginner drum sets have a piece of hardware that connects them to the bass drum – and that’s what we’re going to show you.
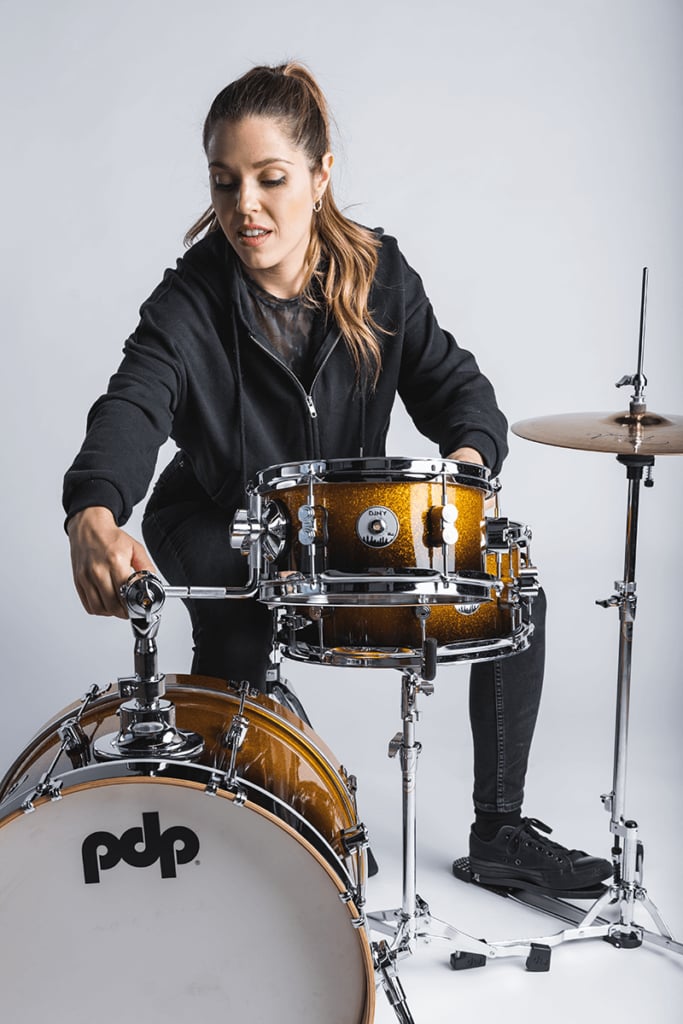
Mounted toms: Attach them to the bass drum using the provided hardware. Try to avoid angling them too much! If the toms are too deep to fit over your bass drum without tilting them to the extreme, try changing their height or moving them to the left or right.
Floor tom: Position it to the right of your right leg. You can remove and/or adjust the legs to change the height and angle; make sure they’re even (or almost even) so the floor tom doesn’t wobble.
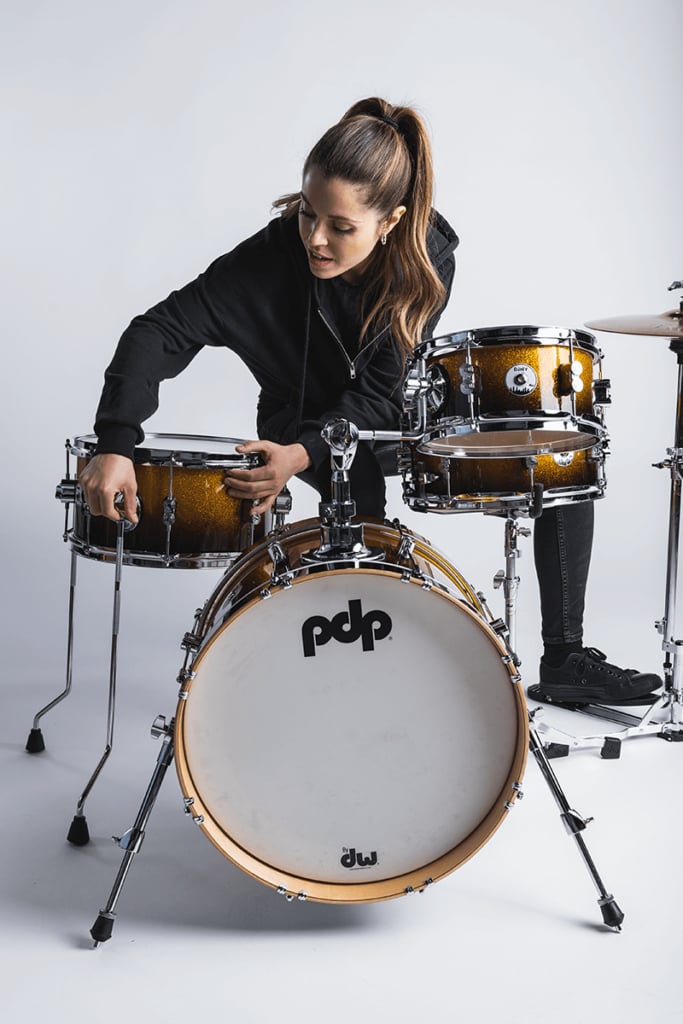
Now play the kit from left to right, hitting each drum one after another. You want to be able to move around the toms smoothly. If you can’t, it’s time to re-adjust.
It’s time for your kit’s crowning glory: the crash and ride, and any other cymbals you might’ve picked to give your drums that final flourish.
First, assemble and position the cymbal stands. Remember how earlier you read about loosening and tightening wing nuts? You’ll be very good at it after this step. Cymbal stands are basically telescoping tubes: you can make them taller or shorter.
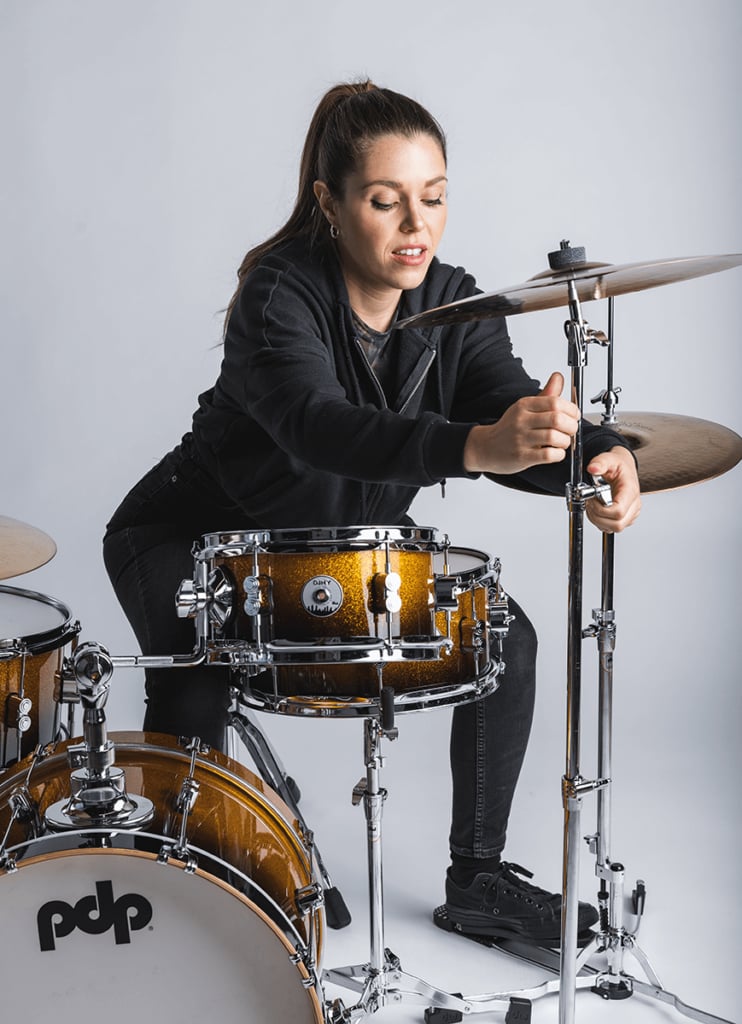
Open the legs, give them some height, then remove the cymbal topper by twisting it off. Remove one of the felts, place the cymbal on the stand, then replace the second felt and topper.
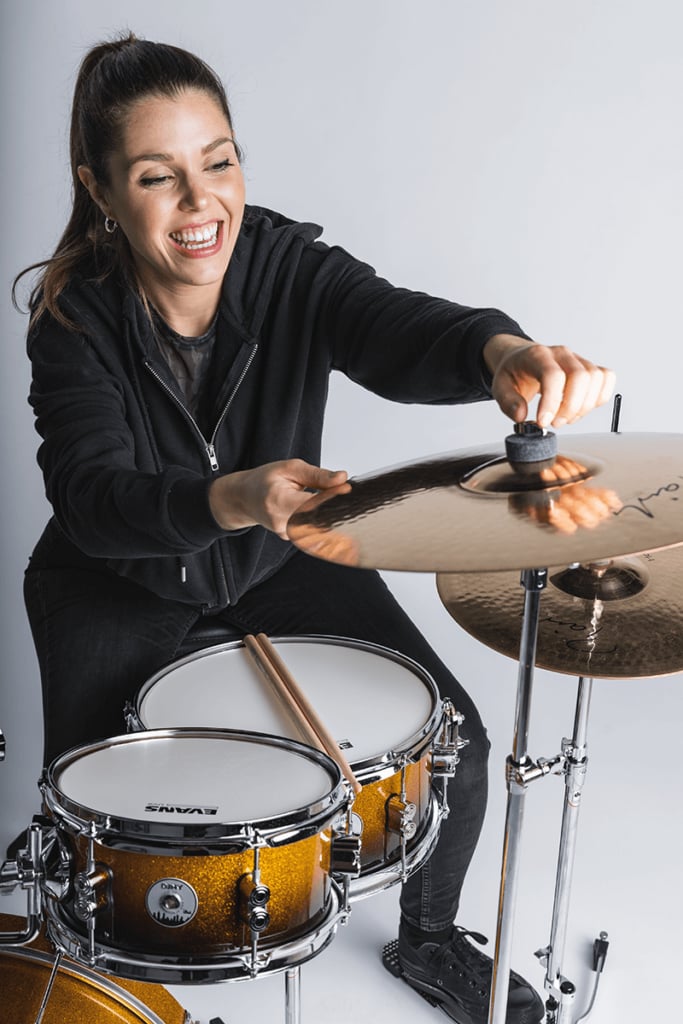
Adjust the height and angle of each cymbal. Once the cymbals are on the stands, you might end up changing their placement or height. They should be angled ever so slightly toward you so when your drumstick makes contact it feels like cutting through butter.
Once everything is set up, sit down and make sure everything is within reach and feels comfortable. Move things around if you need to.
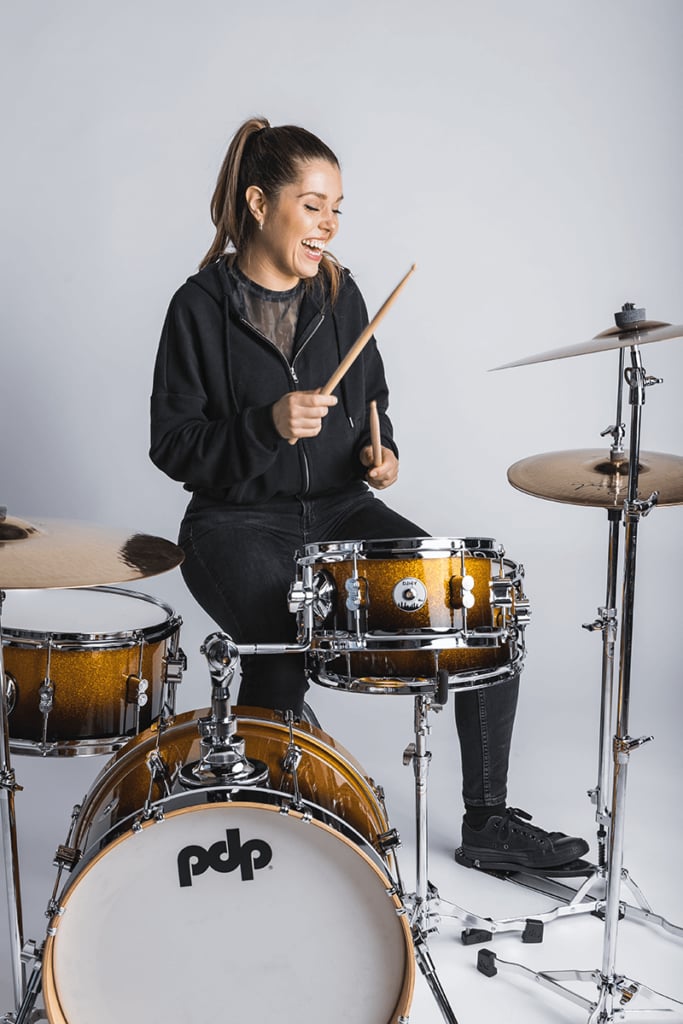
A couple of final thoughts:
*New drum kits often come with a drum key, but if you don’t have one, you can pick up a key from your local music store or online for a couple bucks.
Remember, the exact setup might vary based on personal preferences and your specific gear. The goal is to make it comfortable – and to make it you.
Samantha Landa currently drums with Conquer Divide and has been featured by outlets such as Sick Drummer Magazine and DRUM! Magazine. Sam proudly endorses Mapex Drums, Sabian Cymbals, Evans Drumheads and Los Cabos Drumsticks.


By signing up you’ll also receive our ongoing free lessons and special offers. Don’t worry, we value your privacy and you can unsubscribe at any time.
We use cookies for traffic data and advertising. Cookie Policy »