As drummers, we deal with a lot of gear, which means mechanical troubles are likely to show up at one time or another. Here are some typical drum equipment woes and how to cope with them.
To eliminate unwanted overtones from your tom-toms, first check your tuning. Make sure that each head has the same pitch at every tension rod, and that you’ve tuned the top and bottom heads on each drum to a specific pitch interval. Higher pitched drumheads produce more ring and sustain, and lower-pitched heads have less sustain and more attack – so adjust your tuning accordingly.
Another option is to use 2-ply drum heads. Double-ply heads typically produce fewer overtones and have less sustain overall than single-ply. You can also try hydraulic heads, which are double-ply with a layer of oil in between. They can make for a “thuddy”, deadened sound, but this also means the least amount of ring.
If you’re already using well-tuned 2-ply heads and your toms are still ringing, the next step is to try dampening. The easiest and fastest choice here is tape. Gaffer tape works best as it’s the most durable, will stay on the head longer, and won’t leave a sticky residue if you need to remove it or move it around. Apply small 2”-3” pieces of tape to the head to reduce overtones, and for even more muffling, fold up strips of paper towel into squares and tape those to the drumhead close to the rim.

Another dampening alternative is gel pads, which are easy to use and move around (and they look better than tape, too). Start with one gel and apply it near the edge of the drum head. Add more until you get closer to the sound you want. Remember that you can place them on the bottom/resonant head as well.

For the most muffling and least amount of sustain on your toms, lay dampening rings on top of the heads. These are typically sold in packs, come in various widths, and are made from material similar to a drumhead.

FYI: You can also make your own muffle rings out of old heads with the hoops/edges cut off. Try cutting a hole in the middle. The donut shape makes for a partial dampening effect.
For any of these methods, keep in mind that some tom ring can be a good thing when mixed with the other instruments in your band. It can help your drums have more depth and life in both a studio mix and a live setting. So experiment with various levels of dampening and ring reduction to find the option that best suits your playing style and musical genre.
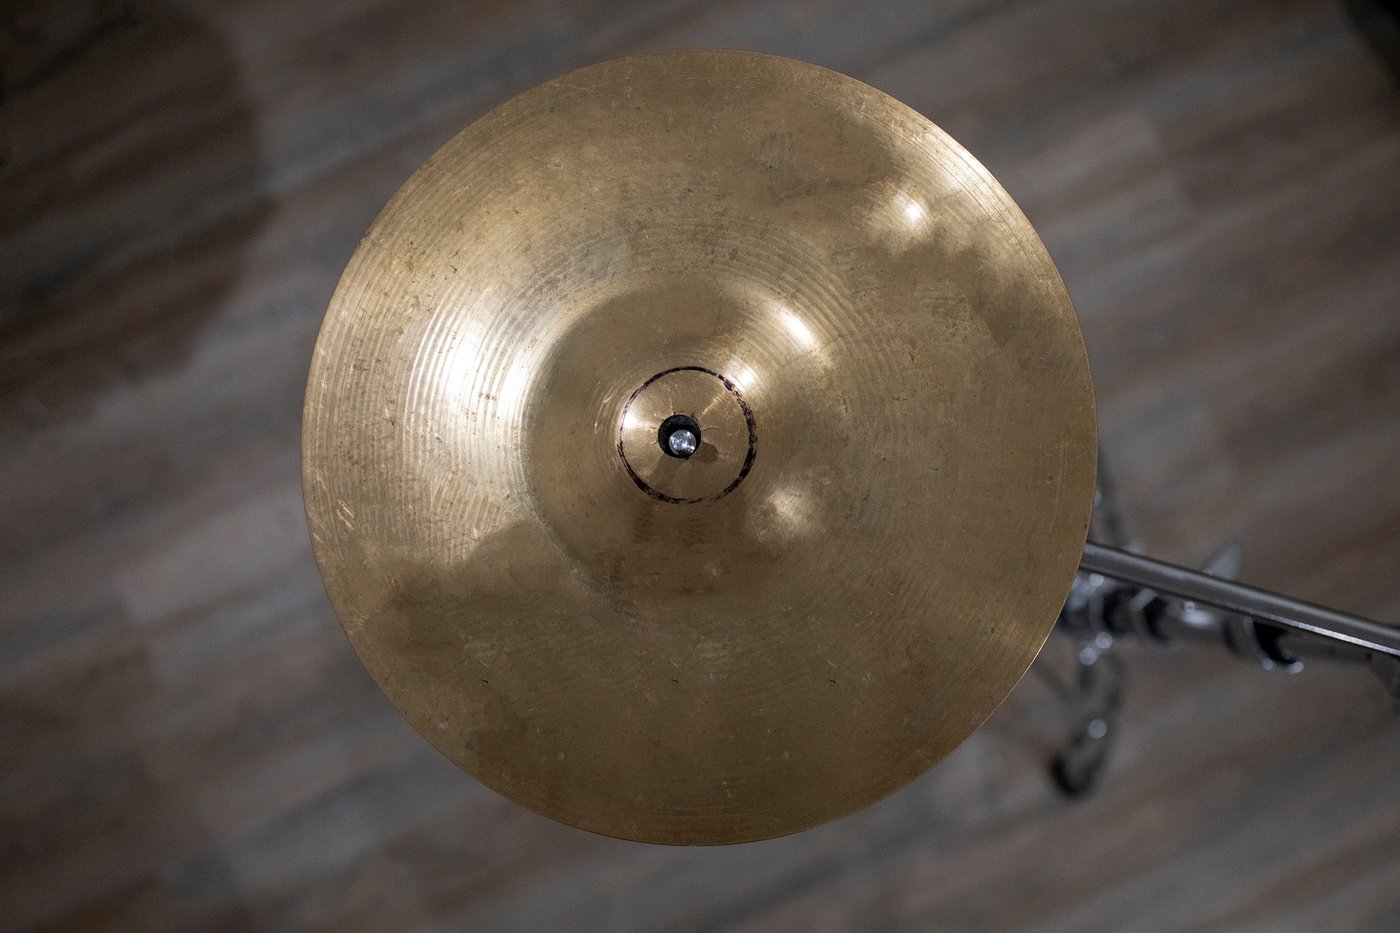
To safeguard against hairline fractures at the center hole of your cymbals, there needs to be no metal-on-metal contact between your cymbals and the cymbal stands. Use plastic, nylon, or rubber sleeves to cover the threads on the wingnut post, and sandwich your cymbals between top and bottom felt washers (this will support your cymbals and protect them on their stands). These precautions can help prevent keyholing as well, which often leads to additional weakness and cracking.
(Keyholing is what happens when the cymbal stand starts to wear one side of the cymbal’s center hole, making a keyhole shape).

Like sleeves and felts, make sure to not over-tighten the wing nuts holding the cymbals on their stands. Cymbals need to move freely when hit, otherwise, the stress from the force of the stick will be fully transferred to the point of impact and to the center hole. If the cymbal has room to move, the impact will instead be spread over its entire surface.
It’s worth mentioning that high-quality cymbals made with stronger bronze alloys will resist cracking more than cheaper brass cymbals, which are softer and more susceptible to denting and breakage. Thinner cymbals may also crack more easily if not mounted correctly or played too aggressively.
Other options to consider for your cymbals are using lighter, softer sticks, playing with a lighter touch, and making sure the angle of your cymbals on their stands is set up so you’re not hitting them perpendicular to their edge.
Lastly, always carry your cymbals in a case or padded bag, since dropping a cymbal on the ground can cause cracks, as can placing heavy items (like speakers and amps) on top of them.
Squeaks typically happen when metal is rubbing on metal, so adding any kind of lubricant like Vaseline, machine oil, or silicone spray will help eliminate bass drum pedal noise (avoid the standard WD-40 since it’s not technically a lubricant and will eventually dry out).
There might be several areas on the pedal that are squeaking – the hex shaft that moves the beater, the hinge between the footboard and the heel plate, and the tension spring itself could all be making sounds – so make sure you lubricate all moving parts.
It’s good practice to keep your pedal clean and oiled. Older pedals will squeak more since the metal fittings have worn and become looser, and that newer pedals with footboards are more stable so are less likely to make noise.
There are two kinds of cymbal stands: straight and boom. Boom stands are more prone to tipping because the arm that extends out horizontally holds the full weight of a cymbal mounted on its end. That said, straight stands can fall over as well if they aren’t set up properly. On both kinds of stands, it’s important to make sure the tripod legs are extended out far enough. If they’re pulled in too close, the stand will tip easily. Legs extended out means a wider base, a lower center of gravity, and less likelihood of falling.
On boom stands, make sure the boom arm is directly above one of the tripod legs. If it’s in-between, the stand may fall that direction if there’s enough weight on it or if it’s hit hard enough.

If you need to extend the boom arm all the way out, and/or mount a tom off the cymbal stand – both of which can topple a cymbal stand – one solution is to lay an ankle weight (like you’d find in a gym) over one of the tripod legs on the opposite side from where the tom or cymbal is. Ankle weights come in various sizes and are typically made of flexible nylon cloth, so you can easily drape them over a tripod leg to serve as a counterbalance to the tom and cymbal.
Sound frequencies from a stage monitor, amplifier, or even your rack toms can vibrate the bottom head of your snare drum which causes the snare wires to buzz and rattle.
The most common way to reduce vibration-related buzz is to detune the four tension rods closest to the snare wires (two on each side of the drum). Just loosening a quarter to a half turn can reduce snare rattle drastically without having a major effect on the overall sensitivity or sound of the drum.
If the buzz seems to only happen when you hit the toms, try tuning your snare to a different pitch. Unison and octave are the most likely tunings to resonate, so make sure your snare pitch is several intervals away from the pitch of your toms.
Physical proximity can be a factor in vibration as well, so moving the toms farther away from the snare drum can help, as well as placing muffling on the toms and the batter side of the snare, since a dampened head is less prone to resonate.
Another option is to try changing the tension on the snare strainer using the adjustment screw on the throw-off. Even a slight turn can often make a difference in the amount of buzz.

Speaking of snare wires, it’s important to have equal tension on both sides of the strands since loose wires will rattle more. This means making sure the straps or cords from the strainer are pulling equally, and that there’s the same number of wire strands on each side measuring from the middle (an unequal number creates uneven tension and can result in some vibrating strands). Overall, higher quality snare wires are less likely to vibrate, come loose and/or break, so if you’re experiencing a lot of buzz, you might consider upgrading.
Finally, a method used by some of the pros is to use fewer snare strands overall. Since the outer wires typically vibrate the most, Gavin Harrison actually cuts his down to only eight total strands (out of the usual twenty).
What are some of your hacks for gear headaches?
*This article contains affiliate links, which means we might earn a small commission from the product seller if you make a purchase. For more info, check out our privacy page.
JJ Jones is an internationally-touring drummer, educator and writer currently based in Boulder, CO. She's played with folk-pop darlings Girlyman, comedian Margaret Cho, Egyptian revolutionary Ramy Essam, and alt-pop sensation Heather Mae, among many others. JJ is the Tech and Gear Editor of Tom Tom Magazine, and the founder of EmpowerDrumming.com, a drumming education company for women.

By signing up you’ll also receive our ongoing free lessons and special offers. Don’t worry, we value your privacy and you can unsubscribe at any time.