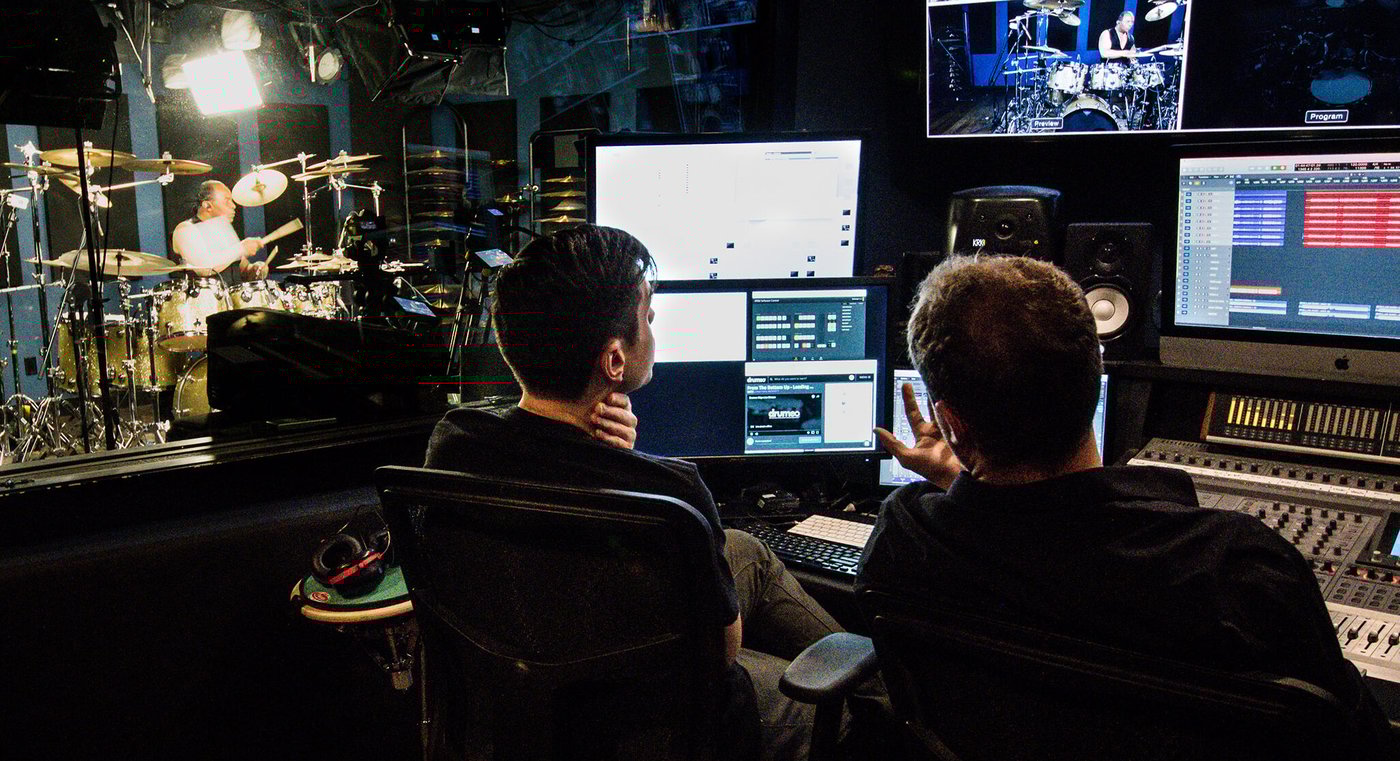
Recording drums is hard. Even for an experienced engineer.
The interactions between the drums, the drummer, the drumheads, the sticks, the room and all the microphones are complex. Sometimes tracking down something that sounds weird or odd can be a real head-scratching, time-consuming experience.
Today we’re covering a series of things drummers do (or don’t do) that can seriously hinder productivity or the end result of their recordings. Grab some popcorn, and let’s dig into these nine common myths!
AKA, you haven’t changed your heads since you bought the kit.
As an engineer, I see a lot of drumheads in the following condition: they’re pitted, scratched, covered in gaffer tape, I think I see some beer stains on the head and…wait, is that blood?
It’s easy to see why drummers love gaffer tape as a tuning aid. In a live situation, it helps get a controlled decay, kills the overtones, and even makes the drum quieter. So quite a few drummers arrive with the tape already on the heads, while others put it on as soon as they strike their drums in the live room. This is because a recording studio with a good live room will make the overtones quite a bit more obvious than in the deadened practice bunker.
I understand. I don’t like to hear all those devilish rings come out of the drums. But instead of ruining your heads and your drum sound with gaffer tape, reach out to the engineer to figure out the best strategy together. We promise that all we want to do is get the most detailed, full and exciting sound out of your drum kit. Something that extreme muffling will prevent.

The engineer will know the room well, and hopefully understand the sound you are aiming for. On top of that, the microphones change the perceived sound of your drum shells and cymbals. Hence the phrase “this drum/cymbal records so well!”
A great example is the Sabian Max Stax. It doesn’t always sound great in person, but it records beautifully.
Lastly, most kits – except for medium and high-level kits – usually ship with poorer quality stock heads. Heads are, in my opinion, the largest variable when it comes to defining a shell sound. If you’re unsure of what sound you want to go for, upgrade your top and bottom stock heads to a Remo Emperor/Ambassador or Evans G2/G1 top/bottom combination.
TL;DR: Please replace your drumheads a few days before a recording session, and refrain from muffling the drums without the input of the engineer/producer.
In the studio, your kit will be under the microscope. Not only will it be heavily miked from all directions, but the improved acoustics will also bring the best (and worst) qualities out of your shells or cymbals. With larger rooms, it’s not uncommon to change the tuning to get ‘that’ big drum sound.
The room’s dimensions will directly affect how sound waves behave. What sounded like a thunderous floor tom in your garage might sound weak in the studio because the room will have wildly different dimensions.
I could go on forever about standing waves, nodes, and antinodes, but we need to move on. Just bear in mind the size of the room has an effect on the drum sound and adjusting the tuning up or down can help change the sound of your kit.

The engineer really doesn’t want to hear your chops while in the live room.
In fact, we want to spend the least amount of time possible in front of an acoustic instrument. We want our ears to be nice and fresh to make the best possible decisions in front of the studio monitors, not in front of the drum kit.
If the engineer is coming to the live room to adjust something, stop playing. If they ask you to keep playing, avoid playing close to their ears. So please, don’t hit that china if I’m adjusting your overhead, or do loud backbeats on the snare if I’m placing your snare bottom microphone.
Chances are, you don’t. You really don’t.
It’s easy to look back at some of the most epic albums in history and their sound and vibe and assume the trick is in recording live. The difference is that recording like that used to be a limitation on budget, equipment, time or any combination of the three.
Making a live record requires an extensive amount of preparation. Having pre-production down and the parts practiced are a must. You and your band need to not only be able to repeatedly play your parts without any mistakes, but also get the interplay between dynamics, timing, and feel right in every take.
As an engineer and mixer who receives a fair amount of ‘live’ recordings to mix, the amount of editing you can perform is limited. The bleed between different microphones (eg. the overheads might have some of the guitar sound or vice versa) severely limits creative processing and mix choices. You need to get it right during recording.
While there are dozens upon dozens of techniques an engineer can apply during tracking or mixing to fix or change how your drum kit sounds, there are some things that will never work as well as doing them at the source.
Curious about some of these techniques? Check out my article on drum samples here on The Drumeo Beat.

Yes, you do. If there’s a budget, you should 100% get one.
A good drum tech will be able to work closely with the engineer to reach the best tuning for the drums, room and the song. They can usually get there a lot faster, too!
Let’s break this down: for an eight hour day, commercial studios can charge you anywhere from $400 to $1000 a day for the room alone. If you spend three hours tuning the kit, that’s $150 to $400 worth of session lost. It’s enough to cover the cost of a drum tech for half-day to a whole day and still have money to spare.
You’ll be able to keep the drums more in tune during the session, you’ll spend less time tuning, and you’ll be able to experiment with tunings faster, all while not draining the engineer’s ears or tiring yourself out.
It can be tempting to just jump on Instagram in the time between takes, but the truth is, those playback moments are crucial for both the song and your own improvement as a drummer.
The more ears pay attention to the playback, the more the performance can be tuned. And as a drummer, listening back to what you just played is essential to your own development as a drummer.
“Is the tone of the toms good enough? Was I playing the crashes too loud? Maybe on the next take, I shouldn’t play that chorus so loud that the snare is cracking – it’s killing the vibe of the song! Oh, I guess I never land on the 1 after that fill…”
Not true. At all.
Playing too loud can choke both drums and cymbals. Drummers that play way too loud often get a sound out of the drums I define as “cracking”. While it’s sometimes desirable – especially on snare drums – this sound is often all attack and no sustain. For the listener, it’s a momentary hint at a drum that immediately gets buried in the mix and lacks punch.
On the other hand, a drum with a wide-open sustain will bring weight and depth. It’s the combination of attack, sustain and depth that tricks our ears and brain to think there are some thunderous drums being played in a song. I also found that using heavier sticks with barrel-shaped tips helps to get a good, deep tone out of toms and snare drums without any extra effort from the drummer.
Cymbals that are too loud will spill into every microphone, making the mix helplessly cymbal heavy and harsh. Cymbals can also start to behave in weird ways and no longer ‘open’ as nicely as when you are playing with medium dynamics, which results in a choked sound. If you need louder cymbals, get heavier cymbals instead of hitting harder.
Todd Sucherman talks about this myth in this quick video:
Finally, something all drummers should strive to be: mixing engineers.
Just kidding…kind of.
Don’t worry. You don’t have to learn how to use a mixing console or ProTools. I’m referring to ‘mixing your drums’ in real-time by using dynamics while tracking.
When we play, we have the best opportunity to fine-tune the balance of our kit. A well-balanced drum kit records much better and gives room for the mixing engineer to dial in a perfect mix that will fit your band’s vision better.
Are you playing jazz? Get that ride soaring, and feather the kick. Make sure the snare is providing the right texture to the song.
Are you playing hard rock? That kick should be hitting hard, the snare should be providing a backbeat, and the cymbals should be present but not too loud – think of them as the cherry on top.
There you have it. Hopefully these maintenance/practice tips and behavior changes will help you prepare for your next studio session and will make the recording experience much more pleasant for everyone, guaranteeing better sonic results no matter if you are recording in semi-pro recording studios, big-budget commercial rooms, or with your home studio setup.
As usual, feel free to reach out with questions and comments – I’d love to hear from you and connect with readers and lovers of drums and recording.
*This article contains affiliate links, which means we might earn a small commission from the product seller if you make a purchase. For more info, check out our privacy page.
João Lebre is a freelance mixing engineer at caffeinatedaudio.co.uk and drummer based out of London, UK. He has toured as drummer and FOH engineer, designed and commissioned world class studio installations, and lectured a range of audio engineering topics for SAE London. João is a passionate music instructor and is truly obsessed with gear.

By signing up you’ll also receive our ongoing free lessons and special offers. Don’t worry, we value your privacy and you can unsubscribe at any time.