This guide will show you, step-by-step, how to tune a snare drum. It’s easier than it looks!
Poor tuning can make it nearly impossible to get a good sound whether you’re onstage, in the studio or in the practice room. This snare tuning guide will help you to cast off rattles and overtones so you can get that satisfying “thwack!”
 1")
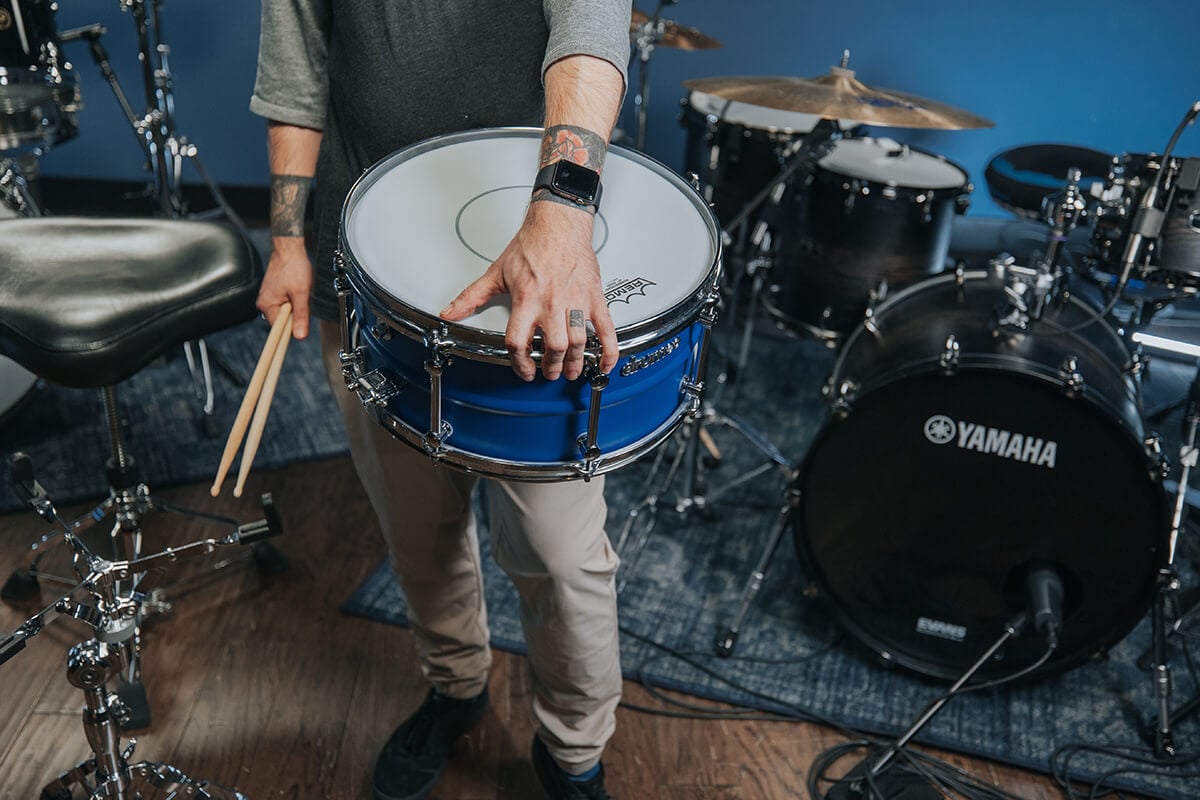
First, move your snare away from the rest of the kit. Each part of the drum set has different overtones, and isolating the snare while you’re tuning will reduce the chance of hearing sounds from the toms or bass drum. A lot of drummers make this mistake and then wonder “where the heck is that humming or rattling coming from?” We’ve all been there!
Remove the screws, the hoop and the old head, then use a dry cloth to wipe everything down. Make sure the inside of your drum is completely clean before you pop on the new head.
 2")
It’s important to seat the new head properly. The part of the drum where the hoop rests is called the “bearing edge” and if it’s warped, the head may not sit exactly right.
But what if the head doesn’t sit right?
You can try DrumDial Bearing Edge Conditioner to help the head glide on more smoothly. Beyond that, there’s not much you can do without getting into a major repair like sanding it down and using a machine to fix it.
You should be able to seat the head even if the bearing edge is a little off. If you can’t, it might be time to think about getting another drum.
The type of hoop on your snare is important too. Die-cast and wood hoops are less flexible and tend to muffle overtones, while triple-flanged have some additional “play” and allow the head to resonate more. Swapping out the hoop is one way to change the sound of your snare, and if the hoop is bent, it might be tough to seat the drum head properly.
 3")
Now that everything is in place, it’s time to get the head in tune.
Release your throw-off to make sure your snares aren’t touching the bottom head. This will give you the most accurate sound for tuning.
Replace each tuning rod and turn gently with your fingers until they don’t wiggle (this is called “finger-tight”). Most snare drums have 10 tuning rods and lugs.
 4")
Make a couple of full turns with each set of tension rods, moving in a criss-cross pattern and turning the tension rods until tight.
You can also save time by taking two drum keys, placing them on opposite lugs, and rotating both about a quarter-turn clockwise at the same time.
As you tighten the head, you may hear a cracking sound. Don’t be alarmed! This is just the head stretching over the hoop.
If you prefer the two-key method over the traditional one-key method, it stretches the head evenly over the drum to create “tension bands,” or lines of tightness across the head.
But how will I know when it’s tight enough?
While there’s a science to tuning, it’s also an art. If it sounds good, then you’re on the right track. However, snare tunings do vary a lot depending on what style of music you’re playing and what type of drum, hoop and heads you’re using. Rock and metal tunings tend to be lower pitched, while many jazz and hip-hop drummers tune their snares up higher (there are always exceptions).
 5")
Use your finger or a drumstick to lightly tap on the head around the edge of the drum near each lug to quickly check the pitch. If one is higher or lower than the rest, use your key to keep making adjustments. The goal is to hear the same pitch by each lug.
It’s important to tune in small increments of 1/4 to 1/2 of a turn at a time so the head tightens gradually. How a tuning rod feels doesn’t always correspond directly to how tight it actually is. Parts can rust over time, and products like torque wrenches aren’t always accurate.
Don’t be fooled! The most important tuning tool you have is your ears.
You don’t need to choke every single rattle or overtone during the tuning process. Drums always sound different behind the kit than they might to the audience in a club or the engineer in a studio. Let the drum speak. If you need to cut down on extra noise, use a dampening product you can easily use and remove. This will give you much more flexibility to manipulate the tone.
Resonant head tuning is similar, but if you’re changing both heads, do the resonant head first. You’ll have to remove the snares then repeat the process above.
One useful tip: if your drum sounds truly god-awful, check the tuning of your resonant head before you drastically change the tuning or replace the batter head. While it’s possible to overtighten the resonant head and choke the tone, it’s usually the loose ones that cause the most trouble (humming, ringing and rattling) You want the resonant head to be “table-top tight.”
 6")
It’s important to remember that your snare head will continue to stretch and settle as you play it. This means you’ll likely need to continue tweaking the tuning after you first change the head.
You can help this process along by using your palm to gently apply a little pressure to the center of the head to help it stretch (only for the batter head – you don’t need to do this for the resonant head since it’s so thin).
This “settling” process shouldn’t happen for longer than an hour or two of playing, and once the head has stabilized it should stay in tune. If it doesn’t, consider grabbing some of these sleeved washers to keep the tuning rods in place.
If you can help it, don’t change the head right before you record. Do it the day before and “play it in” a little first so the tuning settles. Your engineer will thank you.
Now that you’ve got your snare tuned up perfectly, you’re ready to rock out at home, in the studio or onstage!
Whenever you’re tuning drums, you should have the following items on hand:
What type of drumhead should you get? It depends on the type of music you’re playing and the sound you’re going for. Single-ply batter (or top) heads like this one will have more resonance and sound good for any style where you want a more “open” tone. Thicker double-ply heads will “focus” the sound of your snare to create a fatter tone. Every drum sounds unique, so the best way to find the perfect head is to experiment until you get the sound you’re looking for.
 7")
Do you need to replace the bottom head every time you change the batter head? No. The bottom – or “resonant” – head doesn’t take the same beating and will last longer than the top. But if it has a hole or the drum doesn’t sound quite right, it might be time for a new one. These heads are clear and usually very thin.
There are so many different types of drum keys, but a magnetic one that’s a little larger will make tuning even easier. You can also pick up a custom zinc-alloy design (featuring your favorite drummers) from drumkeyshop.
Digital tools can increase the accuracy of your tuning. Once you’ve installed the drum head, you can take the additional step of using a digital tuner like a DrumDial to finish the job. It measures the relative tension of the drumhead at a specific point, which – if you use it properly – can help you make small adjustments that’ll get the tuning just right.
 8")
You can still get a good sound if you don’t own one of these tuners, but picking one up can really reduce a lot of the guesswork.
The DrumDial has a tiny plunger that pushes on the head to measure the tension in each spot. Make sure to follow the instructions to calibrate the tuner before you start and use the enclosed spacer (or your finger) to make sure it’s the same distance from each lug. Then go through them one by one to see how accurate your tuning is.
Most snare batter heads sound best at a tension of 85-90, but slightly higher or lower can work too. Use your ears, consider the type of music you’re playing, and remember that every snare, hoop and head sounds different. A 6.5”x14” walnut snare drum with S-Hoops (which is a killer hybrid between a rigid die-cast hoop and lightweight flanged hoop) and a single-ply head with a coating ring sounds great tuned to 89-91 for R&B or Hip-Hop, while 86-87 is the sweet spot for a fat rock thump.
On an aluminum snare of the same size with triple-flanged hoops (which are flexible and resonant), 85 has a perfect beefy rock sound, while tuning to 87 and loosening the snare wires slightly hits the sweet spot for a crisp jazz tone.
Whatever tension you choose for the batter head, the key is to tune the resonant head between 80-83 to reduce unwanted overtones without choking the sound of the drum.
Experiment with the tuning and find what works best for you!
Start by loosening all the tension rods on the batter head. This will give us a nice, neutral starting point so we can start from the ground up.
As we mentioned earlier, tighten the rods until each of them are just barely touching the hoop. You can also use your hands to get each rod “finger-tight”. Continue tightening the tension rods in a criss-cross pattern around the drum. Start with half and full turns, and make sure you tighten each rod evenly.
Finally, tap your finger on the drum head right beside each lug to listen to the tone. Try to match up the pitches.
Note: The kind of drum head you use doesn’t really matter, but we recommend not using the stock heads that your drums came with. Evans and Remo are both great options when choosing a quality drum head.
If you haven’t tested different kinds of snare wires out, don’t worry about it for now. The biggest thing to focus on is making sure the snare drums are tight enough to produce a responsive sound, yet loose enough so the snare doesn’t sound choked.
Do the exact same process as we did in step one, but this time on the bottom head. The only difference here is we’ll be making the bottom head much tighter than the top head (table-top tight, in fact).
You don’t want to snap the drum head, but chances are it can be tightened up more than you think.
 9")
Drums need to speak. If you hear a little ring or buzz from your snare drum, that’s totally cool. You don’t want to muffle your drum so much that it removes the character and makes it sound like any other drum. That being said, it also heavily depends on the musical scenario you’re in.
How you hit the drum makes the biggest impact on how it sounds. Play with authority and confidence.
If you’re just starting out – don’t fret. Just by practicing daily and working on your rudiments, you’ll gradually get more and more comfortable with controlling what noises come out of your snare. Don’t get caught up in tuning your drums for hours and hours at this level. Just play!
*This article contains affiliate links, which means we might earn a small commission from the product seller if you make a purchase. For more info, check out our privacy page.
Rob Mitzner is a New York-based session drummer who has recorded for Billboard Top-10 charting albums, films and Broadway shows, performing live at Lincoln Center, The Smithsonian, Caesar’s Palace, The Blue Note, Boston Symphony Hall and for President Obama in his hometown of Washington D.C. He is currently working on a drum book with Hudson Music and has also been featured in Downbeat Magazine and Modern Drummer, and on the national TV show “Trending Today” on Vice. Rob holds a B.A. in Music and Political Science from Brown University, and is a proud endorser of Paiste Cymbals, Remo drum heads, Hendrix Drums, and Drumdots.

By signing up you’ll also receive our ongoing free lessons and special offers. Don’t worry, we value your privacy and you can unsubscribe at any time.