Japan is rich in culture and long-lasting traditions and combines its deep-rooted history with modern technology. It’s also home to one of the greatest drum set manufacturers: Tama Drums.
In this documentary series, we’re telling the stories of the biggest names in drum manufacturing. You’ll see how Tama drums are made, meet some of their master craftsmen, and find out if I can adapt a modern performance on taiko drums.
Tama began as Star Drums in 1966, changing the name to Tama in 1974.
When I was a kid, I would go to music stores and ask for all of the company catalogs so I could check out the beautiful gear. After browsing through Tama brochures all those years ago, being at the factory was a real ‘pinch me’ moment! I even found a Star Maple Simon Phillips kit in the warehouse.
Every morning, the Tama team meets outside for group exercises; an awesome way to start the day. We spoke to executive manager Takanori Hoshino, who taught us about the concept ichi-go ichi-e: “a once-in-a-lifetime encounter that is never repeated”, which is an accurate description of what Tama does with each of its products.
“One drum is just one part of what we have produced that day. But that one piece represents Tama for that customer. We’re always asking ourselves how we can make it better.”
Mastercraftsman Akiyoshi Motomura says that the most difficult part of his job is “avoiding adhesive failures and eliminating deformations”. But he’s clearly great at what he does: his methods haven’t changed in 28 years.
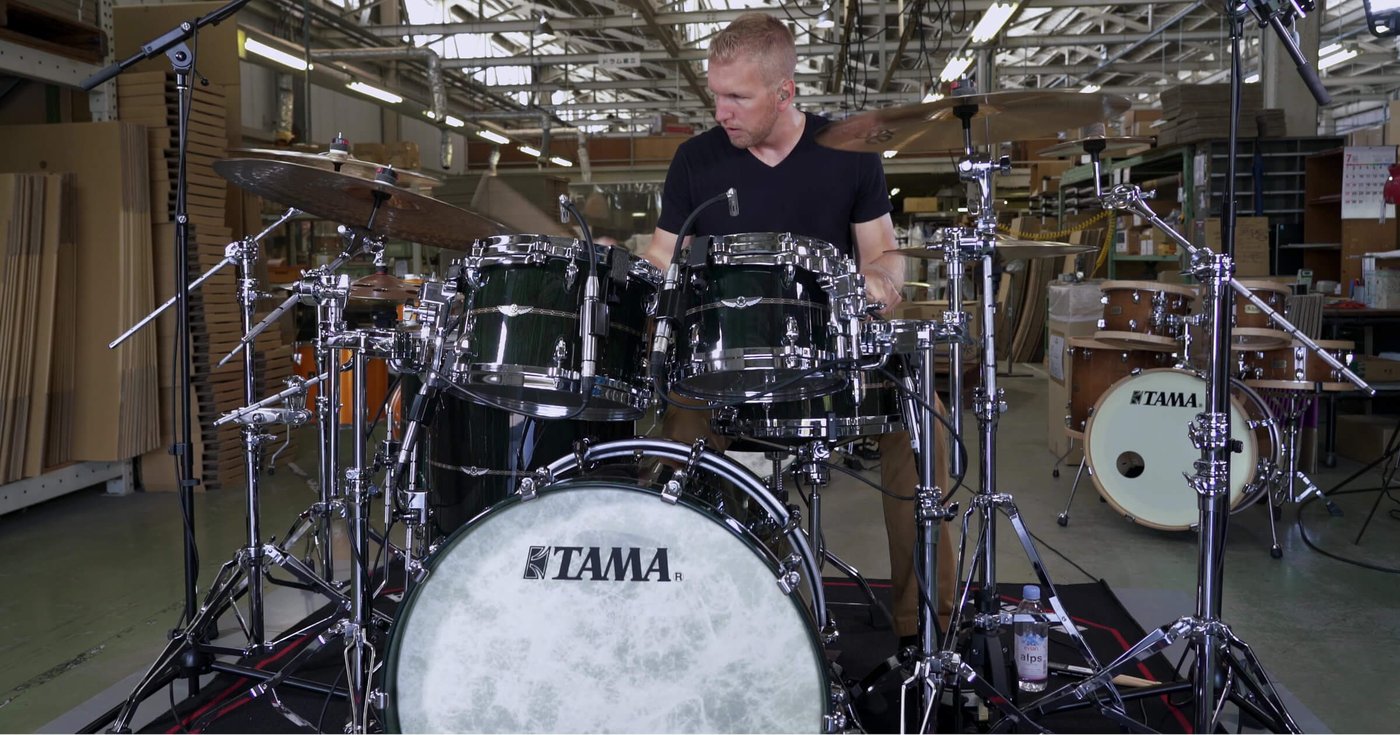
After a factory tour, it was time for me to don the uniform and try my hand at making a drum. Let’s go!

Cut plies
Each ply needs to be cut to the exact length required for the drum’s dimensions. Once this is done, the craftsman uses Tama’s special technique of cutting each ply diagonally.
Glue and press
They run the middle ply through a glue machine to coat each side so it can bond with inner and outer plies during pressing. A large cylinder drops into the center of the shell and expands to apply an even amount of pressure all the way around. Finally, the fledgling drum goes into the oven to ‘bake’ for about 20 minutes.
They sand the inside of the shell by hand, paying extra care to the inner seam. Once it’s smooth, a machine gives it a consistent final result.
Next, they sand the outside of the shell by hand, and a machine finishes the job. Final touch-ups are performed by hand until the craftsman is happy.

Tama’s Star Maple and Bubinga kits come with sound focus rings, which add durability and a more focused sound. The master craftsman cuts the ring diagonally with a knife so it matches the size of the shell, then use a traditional tool (called a kanna) to make fine adjustments.
The ring tension is key: it can’t be too loose or too tight. Once it’s ready, they add glue and hammer until it’s flush with surface of the shell. They coat the outside of the ring with glue, and also add glue to the inside of the drum where the ring will be placed. With a hammer, they lightly tap the ring in place until it’s perfectly level with the edge of the shell. There’s a quick wipe to remove any excess glue or dust, and then the whole process is repeated on the other side of the drum.
Inlays: Did you know this is a free option for custom Tama kits? It’s worth it! They layer three types of thin wood to form a pattern, then place the drum in a spinning machine to cut a small groove around the outside of the shell. The groove is filled with glue, followed by the inlay.
Decals: After cleaning the surface, a small amount of glue and water is applied before installing the Tama decal.
Painting: I got to airbrush a shell in ‘Drumeo Blue’, which Tama prepared specially for this documentary! As master craftsman Hirotaka Futami told us, if the layers of paint are too thick, you’ll lose some of the drum’s natural resonance, so you have to be careful. After painting, it needs one hour to cure in the drying room (which is basically a large oven).
Sanding finish: A craftsman will sand the center of the drum (over the inlay, if there is one) by hand. If it’s still not perfectly smooth, the drum will get another clear coat and they’ll repeat the drying and sanding process until it’s done right.

Buffing: To get beautiful, even shine, the drum goes into a horizontal buffing machine where a Tama specialist will apply a liquid compound as it spins. The rotation ensures an even spread around the shell.
At the next station, a vertical buffing machine uses two spinning wheels on either side of the drum to evenly coat the surface with another layer of compound until the surface has the required shine.
Some say the bearing edge is the biggest differentiator in a drum’s sound. In the molding process, the aim is of course to make the shell completely round. Because it’s made of wood, it can have natural anomalies. Once the machine cuts the bearing edge, it needs to be finished by hand.
To avoid peeling paint when drilling holes for hardware, Tama has created custom drill bits for a clean and crisp hole every time. They’ll enter the drum’s model info into the machine’s software, hit ‘go’, and let it do the work. Afterward, the vent holes are drilled by hand. It’s a perfect combination of traditional manufacturing techniques and modern technology.


Once they’ve gathered the correct hardware, the goal is to insert the lugs in place as quickly as possible. Then a pressure control drill locks them into place. They’ll mount the hoops and drum head, before tuning with a Tama tension watch to make sure it sounds great upon delivery. Finally, a snare strainer is added if it’s a snare drum before it’s packed up and shipped.
After a close look at the modern drum manufacturing process, we went to the ancient city of Kyoto to learn about traditional Japanese drumming: taiko!
Munenori Higashi – master sensei and CEO at Taiko-Lab – explained the meaning of taiko drumming. “Taiko contains a lot of emotion. It can generate great strength and energy in our lives. There is no melody or harmony; only rhythm. The question is how to use strength and weakness within the rhythm for expression. Various prayers and thoughts are transmitted through taiko performance.”
Ryo Hitomi gave me my very first taiko lesson. It’s very different from playing the drum set; an ancient form of drumming that we were told quickly spread around the world after the war.

This experience was unbelievable. It put into perspective the amount of care and expertise that goes into building some of the world’s best drums, but how drumming itself is infused with so much history and culture.
Thank you, Tama, for giving us a window into everything you do for players around the world!
*This article contains affiliate links, which means we might earn a small commission from the product seller if you make a purchase. For more info, check out our privacy page.

By signing up you’ll also receive our ongoing free lessons and special offers. Don’t worry, we value your privacy and you can unsubscribe at any time.