Right off the bat, I’ll say that the idea of having ‘rules’ for setting up your drums is bogus. There are general concepts to get you started – some more logical and effective than others – but you can set up your drums however you want!
Sometimes there’ll be situations that require a unique configuration. There’s nothing that makes this ‘wrong’ as long as the drums are physically playable. Most importantly, if they’re comfortable for you, your decision is 100% right. One of the benefits of setting up in an ‘unconventional’ way is that it can inspire new ideas. Something you’d play on a standard kit can come out sounding completely different with an oddball setup!
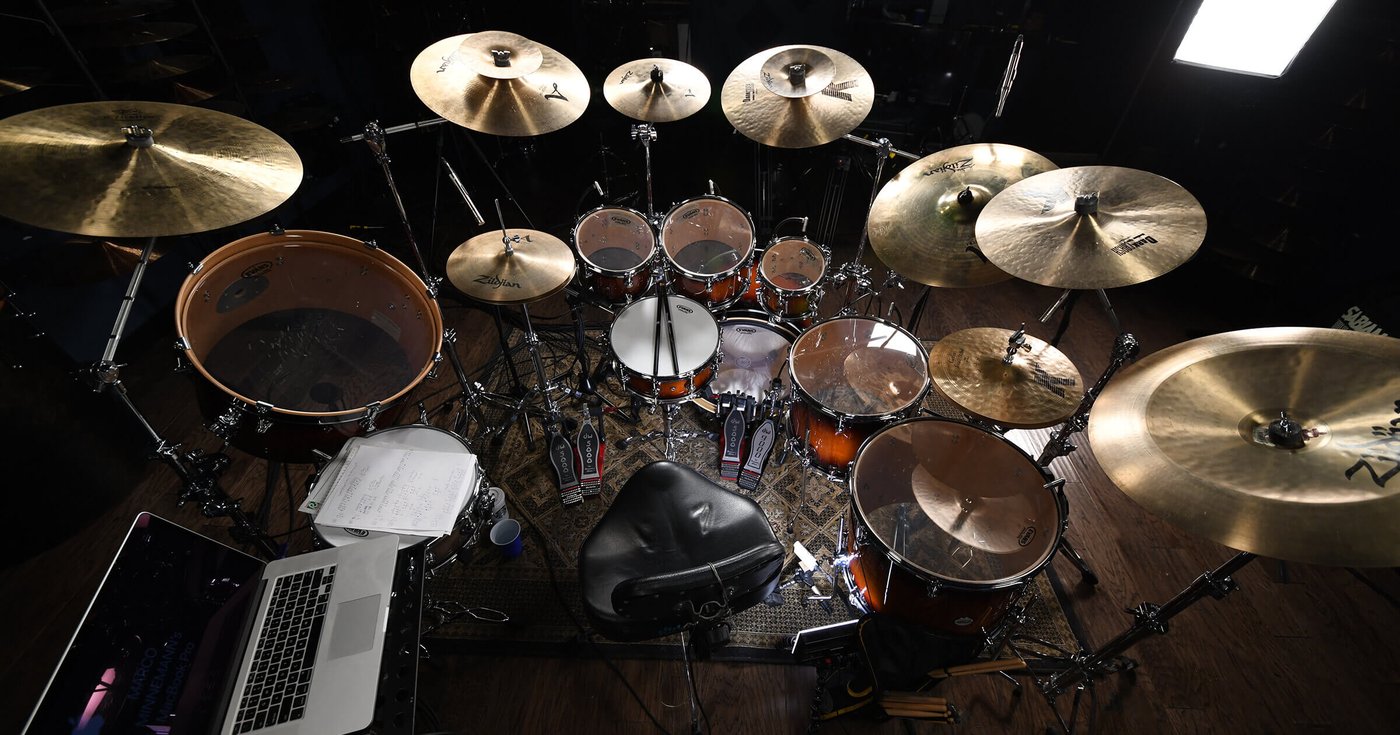
First and floormost (see what I did there), everyone knows that floor toms go on the right and your toms descend in pitch clockwise. I’ll never forget the first time I saw Marco Minnemann breaking this rule. He had five toms and a gong drum (which is basically a bass drum-sized tom you play with sticks). From left to right, the sizes were 22, 10, 12, 8, 14, and 16.
The coolest thing about playing your toms out of order is that parts you’re used to playing on a standard setup come out differently on their own! When I first tried this, I quickly fell in love with how licks I already knew intimately would come out in new and surprising ways.

Lately, I’ve been using the same tom sizes but in a different order: 12, 8, 10, 14, 16. I enjoy having the 12” on the left, which simulates a left floor tom. It also comes with the added benefit of space for auxiliary snares to the left of my main snare. For a while, I was setting up symmetrically, similar to Mike Mangini. You can set up your toms in any order you like. You should experiment with different setups; maybe one will surprise you!
The standard place for your hi-hats is to your left, where your right hand crosses over your left hand to play them. For straight stands, this makes a lot of sense as you’re fairly limited in where you can comfortably position your foot. Remote hi-hat stands open up the possibilities. You could have your left foot where it normally sits, but with the hi-hats all the way on the other side – over your floor toms, for example. Danny Carey placed his between the rack toms for an album or two. Going remote also makes it easy to add multiple pairs of hi-hats to your setup.

We typically see auxiliary snare drums off to the left, like a 10” or 12” to complement a 13” or 14” main snare drum. Firstly, you don’t need to just use one; I used to enjoy using three with a 10” and a 12” on the left of a 13” or 14” in the center.
Another cool option is going larger to the left. You could have a 12” or 13” main with a big, deep 14” off to your left tuned super low. And why stop at 14”? I‘ve got a 20×9 that sounds awesome with a massive, sample-like snare sound. The position is also open-ended; you can put snares to the right of center, up in rack tom positions or even above them, like Mangini’s Golden Ratio 10×6.2 snare (#MathNerd…I love it). One of my favorite snare maniacs is Chris Dave; he sometimes uses four on one kit!

You should still keep a few things in mind when setting up. The vast majority of music is kick and snare-centric. Those two instruments need to be in the most comfortable positions since you generally use them the most. Have your main snare between the knees and your bass drum where your right foot (or left if you’re a lefty, of course) sits naturally. I always assemble these elements first when building a new kit. The kick and snare need to feel like home, so get super comfortable with them before you do anything else.
Once you’ve chosen a tom setup, try to assemble it so each tom’s angle is similar to the angle of your snare. This is important because we learn the majority of our hand technique on the snare drum, so it makes the most sense to replicate those conditions as closely as possible throughout the drum set.
Next, plan the positions for your main riding surfaces. As I mentioned in the hi-hat section, those can go anywhere. I like to close my eyes and just air drum with my sticks. I’m not thinking about what it looks like – just exploring what would feel like a comfortable place for my hi-hats, and putting them there (as long as I can get the hardware to fit). I do the same for the ride cymbal and my main stack as well.
The above method will help you to position your most essential instruments where they’re comfortable and easily accessible. The placement of the rest of the cymbals, percussion, and anything else are entirely up to you and your creativity. Put whatever you want wherever you want it. Just make sure it’s somewhere that’s easy to hit!
*This article contains affiliate links, which means we might earn a small commission from the product seller if you make a purchase. For more info, check out our privacy page.
Aaron Edgar is a dynamic and innovative drummer renowned for his technical prowess and creative approach. With a career spanning over a quarter century, he has significantly impacted the drumming community as an educator, performer, and author. His work with the progressive metal band Third Ion showcases his ability to blend intricate rhythms with powerful grooves. Aaron's contributions to drumming education are extensive, including over a dozen years at Drumeo, his role as a columnist for Modern Drummer, and his instructional book "Progressive Drumming Essentials" Additionally, he served as Editor In Chief of Drums Etc. magazine and is a sought-after clinician worldwide. Aaron's passion and dedication continue to inspire drummers of all levels, solidifying his place as a leading figure in modern drumming.

By signing up you’ll also receive our ongoing free lessons and special offers. Don’t worry, we value your privacy and you can unsubscribe at any time.