Recording in a professional studio can be inspiring and fun, but also overwhelming for drummers of any experience level. This article will discuss some pro tips for choosing the right gear to record, tuning it properly, and using basic drum muffling techniques to make your drums sound great in any studio situation.
It’s always a good idea to plan out your setup a few days before you go in to record. Think about the type of music you will be playing and make sure all your gear will be a good fit for that style. Remember that your job as the drummer is to support the song and be musically sensitive when you play.
That sensitivity should carry over to your gear choices as well. A lightweight jazz kit with a 16-inch bass drum may not be a good option for a hard rock band, while a massive rack of toms and a china cymbal probably won’t be necessary (or popular) when backing up a folk singer.

As an engineer and drummer, Charles Burst of the Seaside Lounge Studios in Brooklyn, New York, puts it: “What works on stage doesn’t necessarily work well in a recording environment. For instance, the cymbals you use live because they cut through the cacophony will be sometimes too harsh and overwhelm the drums and other instruments in the studio.”
It’s important to consider how different types of drums, cymbals, and sticks can produce a range of sounds. If you’re not sure what gear to use, do some research and listen to a few recordings in that genre. Check out the amount of sustain or ring the drums have, and whether they are tuned high or low.
Drums with wooden shells have a slightly warmer tone, while metal drums have a bit more attack and are brighter. A thick, heavy ride cymbal will have a less decay then a lighter one. Small, shallow toms will sound thinner than deeper ones, and wooden-tipped sticks produce a mellower and warmer tone than nylon. It’s also important to consider how your drum sound fits in with the arrangement and the other musicians.
As Burst puts it, “the mix of a song is like a living room that you can only put so much furniture in. You can’t have too much stuff in the room, and the stuff has to have space between it to work aesthetically. A big, fat snare sound is great by itself, but might be overbearing in the context of everything else.”

If you decide that your own gear isn’t right, plan ahead and try to borrow or rent something that might be a better match. Some studios have their own “house” drum kit you can use, however, it’s a good idea to bring your own cymbals, snare, kick pedal and drum throne to make sure that you can get the sound you want and be physically comfortable.
If possible, check out any studio or borrowed equipment ahead of time. If you’re not sure about what gear you’ll be playing, it’s often smart to bring your own stuff despite the extra lugging. You’ll be glad you did once you get set up and dial in that perfect sound.
It’s also important to make sure all the equipment you’re using is in good condition to record. Check to make sure the drum heads are in decent shape (more on that later), and that the hardware can withstand a long day of playing, i.e., no broken boom stands, loose floor tom legs, stripped screws, missing felts or wing nuts, busted snare throw-offs, or duct-taped pieces. Once the recording process begins, you’ll be able to focus on the music itself rather than worrying that your gear may fall apart in the middle of an awesome take.
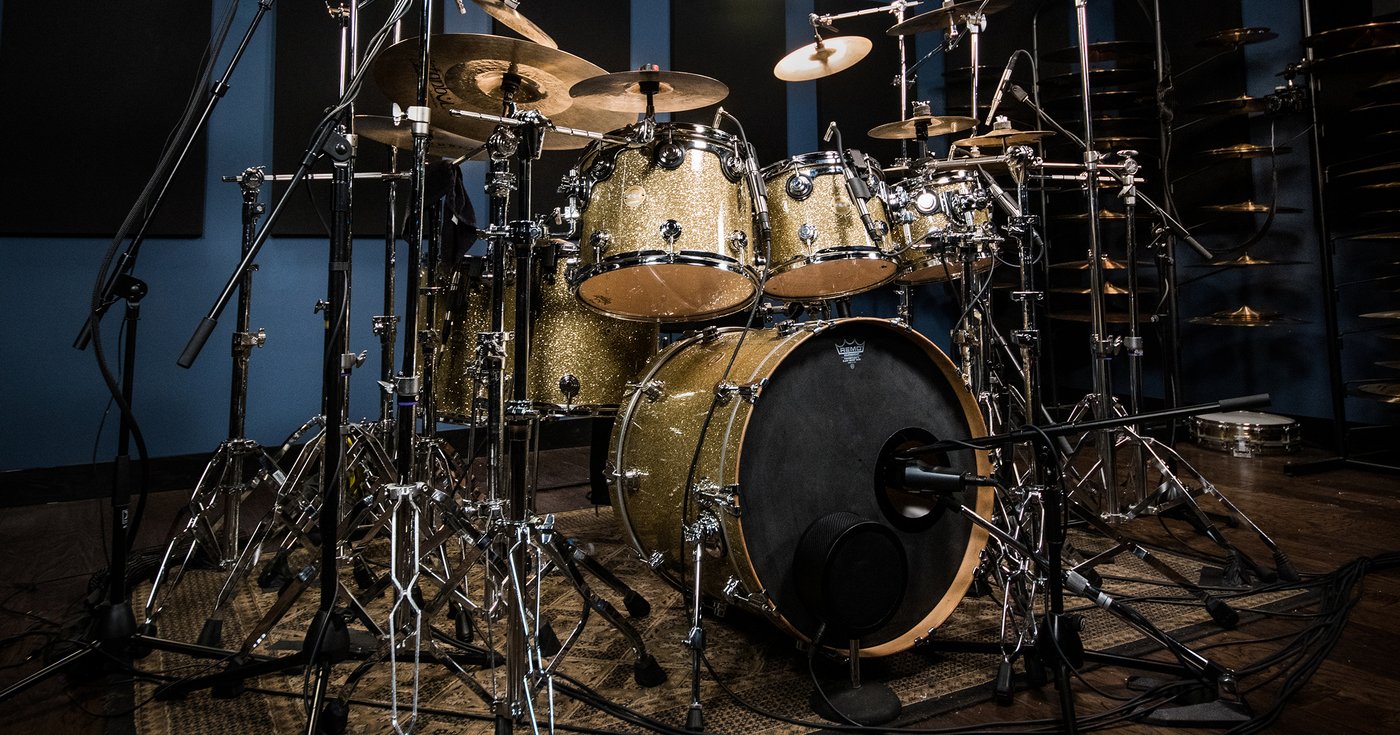
Once you’ve made your gear choices, it’s time to get everything in tune. Once you finish your setup, most engineers will put separate microphones on each drum (called “close-miking”) to have maximum control and flexibility in getting a good sound. They will also place a few mics above the cymbals (called “overheads”), and another one slightly away from the kit (called a “room” mic) to capture the broader, overall sound of the kit.

Having all these microphones means that every detail of your sound will be under a microscope. To avoid getting a dull-sounding or “dead” tone, check all the heads beforehand to make sure they are not too beaten up. If you decide to change a head, it’s best to plan ahead and do it a few days beforehand, if possible. New heads tend to stretch as you play them and often take a little time to “settle in”. If you change it immediately before you record, you could end up fussing with the tuning during the first few songs.
When changing a drumhead, tighten the lugs in a crossways pattern to make sure the head stretches evenly across the hoop. If you’re changing a snare head, make sure the throw-off is in the “open” position (i.e., the snares aren’t touching the bottom head which will obscure the pitch of the drum).
There are plenty of automatic tuning devices on the market to help you along, but it’s a good idea to get used to tuning your drums by ear for studio and live situations where you might not have a lot of time. Use a stick to lightly tap on the area near each lug to hear the pitch and gradually tighten each one until the pitches are uniform.

For some styles, a higher-pitched tuning that cuts through the mix will be a good choice (for example, R&B or Jazz), while rock and other heavier music might call for a lower, “beefier” tone. Again, it’s important to consider the style of music and how your sound fits in with all the other instruments. For resonant (bottom) head tuning, it’s usually a good idea to tune it tightly, especially on the snare. The goal is to eliminate unwanted overtones (more on that below) without choking off too much of the drum’s natural sound.

While your drums will undoubtedly sound a little different in the confines of the studio than in your house or rehearsal space, checking the heads and tuning prior to the session will help you get the tone you want without keeping the engineer and other band members waiting. Plus, any tuning or other preparation you can do in advance will create more time you can spend actually recording your tunes. Once you’re set up and the engineer has the mics ready, have him record a little bit of your playing while he’s dialing in the sounds.
The drums often sound different in your headphones than they will through the studio’s large speakers, so you’ll want to quickly check out your overall sound in the control room before you start tracking. Don’t be afraid to ask the engineer or your bandmates for a second opinion on how the drums sound. There’s nothing worse than having to redo a solidly played take due to gnarly overtones or other unwanted sounds…which brings us to the important topic of drum muffling.
All the buzzes, rattles, and rings that seem like no big deal at home will be magnified and captured for all eternity in the studio. While some recording situations allow for a “wide open” drum sound, it’s often a good idea to filter out any unwanted resonance before you begin.
Silicon muffling products such as Drumtacs are a great choice for snares and toms because they dampen extra ringing without drastically changing the sound of the drum. They also are easy to add and subtract from the top or bottom heads and should not impede your playing since most are only about the size of a quarter.

Another popular muffling strategy involves placing small squares of duct tape on the heads, which you should try to space them evenly along the edges of the drum. In the case of famed drummer Steve Jordan, you can also tape a bunch of paper towels from the bathroom to your snare.

While this technique may seem a bit extreme, it serves as a fine example of the unconventional measures some drummers take to get the sound they want in the studio. In this case, the paper towels deaden the drumhead to create a tone with almost no resonance or sound decay that is the hallmark of Jordan’s unique sound on recordings with D’Angelo, John Mayer, Keith Richards, and many other well-known artists.
There are also plenty of other muffling options for your snare and toms. Some drummers use plastic muffling rings, a small towel on the drumhead, or the old-fashioned “wallet-on-the-snare” technique.
Regardless of what method you choose, getting those overtones under control is a critical part of the recording process. The engineer can do a lot to alter the drum sound in the mixing and post-production phase with effects like reverb and compression, however, starting with a good recorded drum sound goes a long way.
As Burst says, “any sound that is coming from your drums, the mics will pick up. Try to isolate the overtone that is bothering you and eliminate it. Check the tuning and make sure you have even tension across the head. Sometimes there is also a loose lug or two that causes a funky sound.”

Along with the snare and toms, it’s also important to make sure your bass drum has the right tone. A small pillow or blanket inside the drum will often do the trick, and you can experiment by placing it closer or further away from the batter head to get a range of tones. If the bass drum you are using does not have a hole in the resonant head, you can lean a small pillow against the head to kill some of the extra ringing.
Burst says that “for most kinds of music, you want a hole in the bass drum, and in fact, a lot of recordings from the ‘70s had no resonant head at all. It totally depends on the type of music you’re recording”. The best approach is to ready for anything, and always keep your ears attuned to the sound you’re producing.
Now that you have chosen an appropriate rig, tuned it up, and muffled out unwanted overtones, you’re ready to dial in that perfect drum sound and get to work on your hit record!

Read part 2 of this series: Getting the Perfect Headphone Mix & Working with a Click Track.
*This article contains affiliate links, which means we might earn a small commission from the product seller if you make a purchase. For more info, check out our privacy page.
Rob Mitzner is a New York-based session drummer who has recorded for Billboard Top-10 charting albums, films and Broadway shows, performing live at Lincoln Center, The Smithsonian, Caesar’s Palace, The Blue Note, Boston Symphony Hall and for President Obama in his hometown of Washington D.C. He is currently working on a drum book with Hudson Music and has also been featured in Downbeat Magazine and Modern Drummer, and on the national TV show “Trending Today” on Vice. Rob holds a B.A. in Music and Political Science from Brown University, and is a proud endorser of Paiste Cymbals, Remo drum heads, Hendrix Drums, and Drumdots.

By signing up you’ll also receive our ongoing free lessons and special offers. Don’t worry, we value your privacy and you can unsubscribe at any time.